
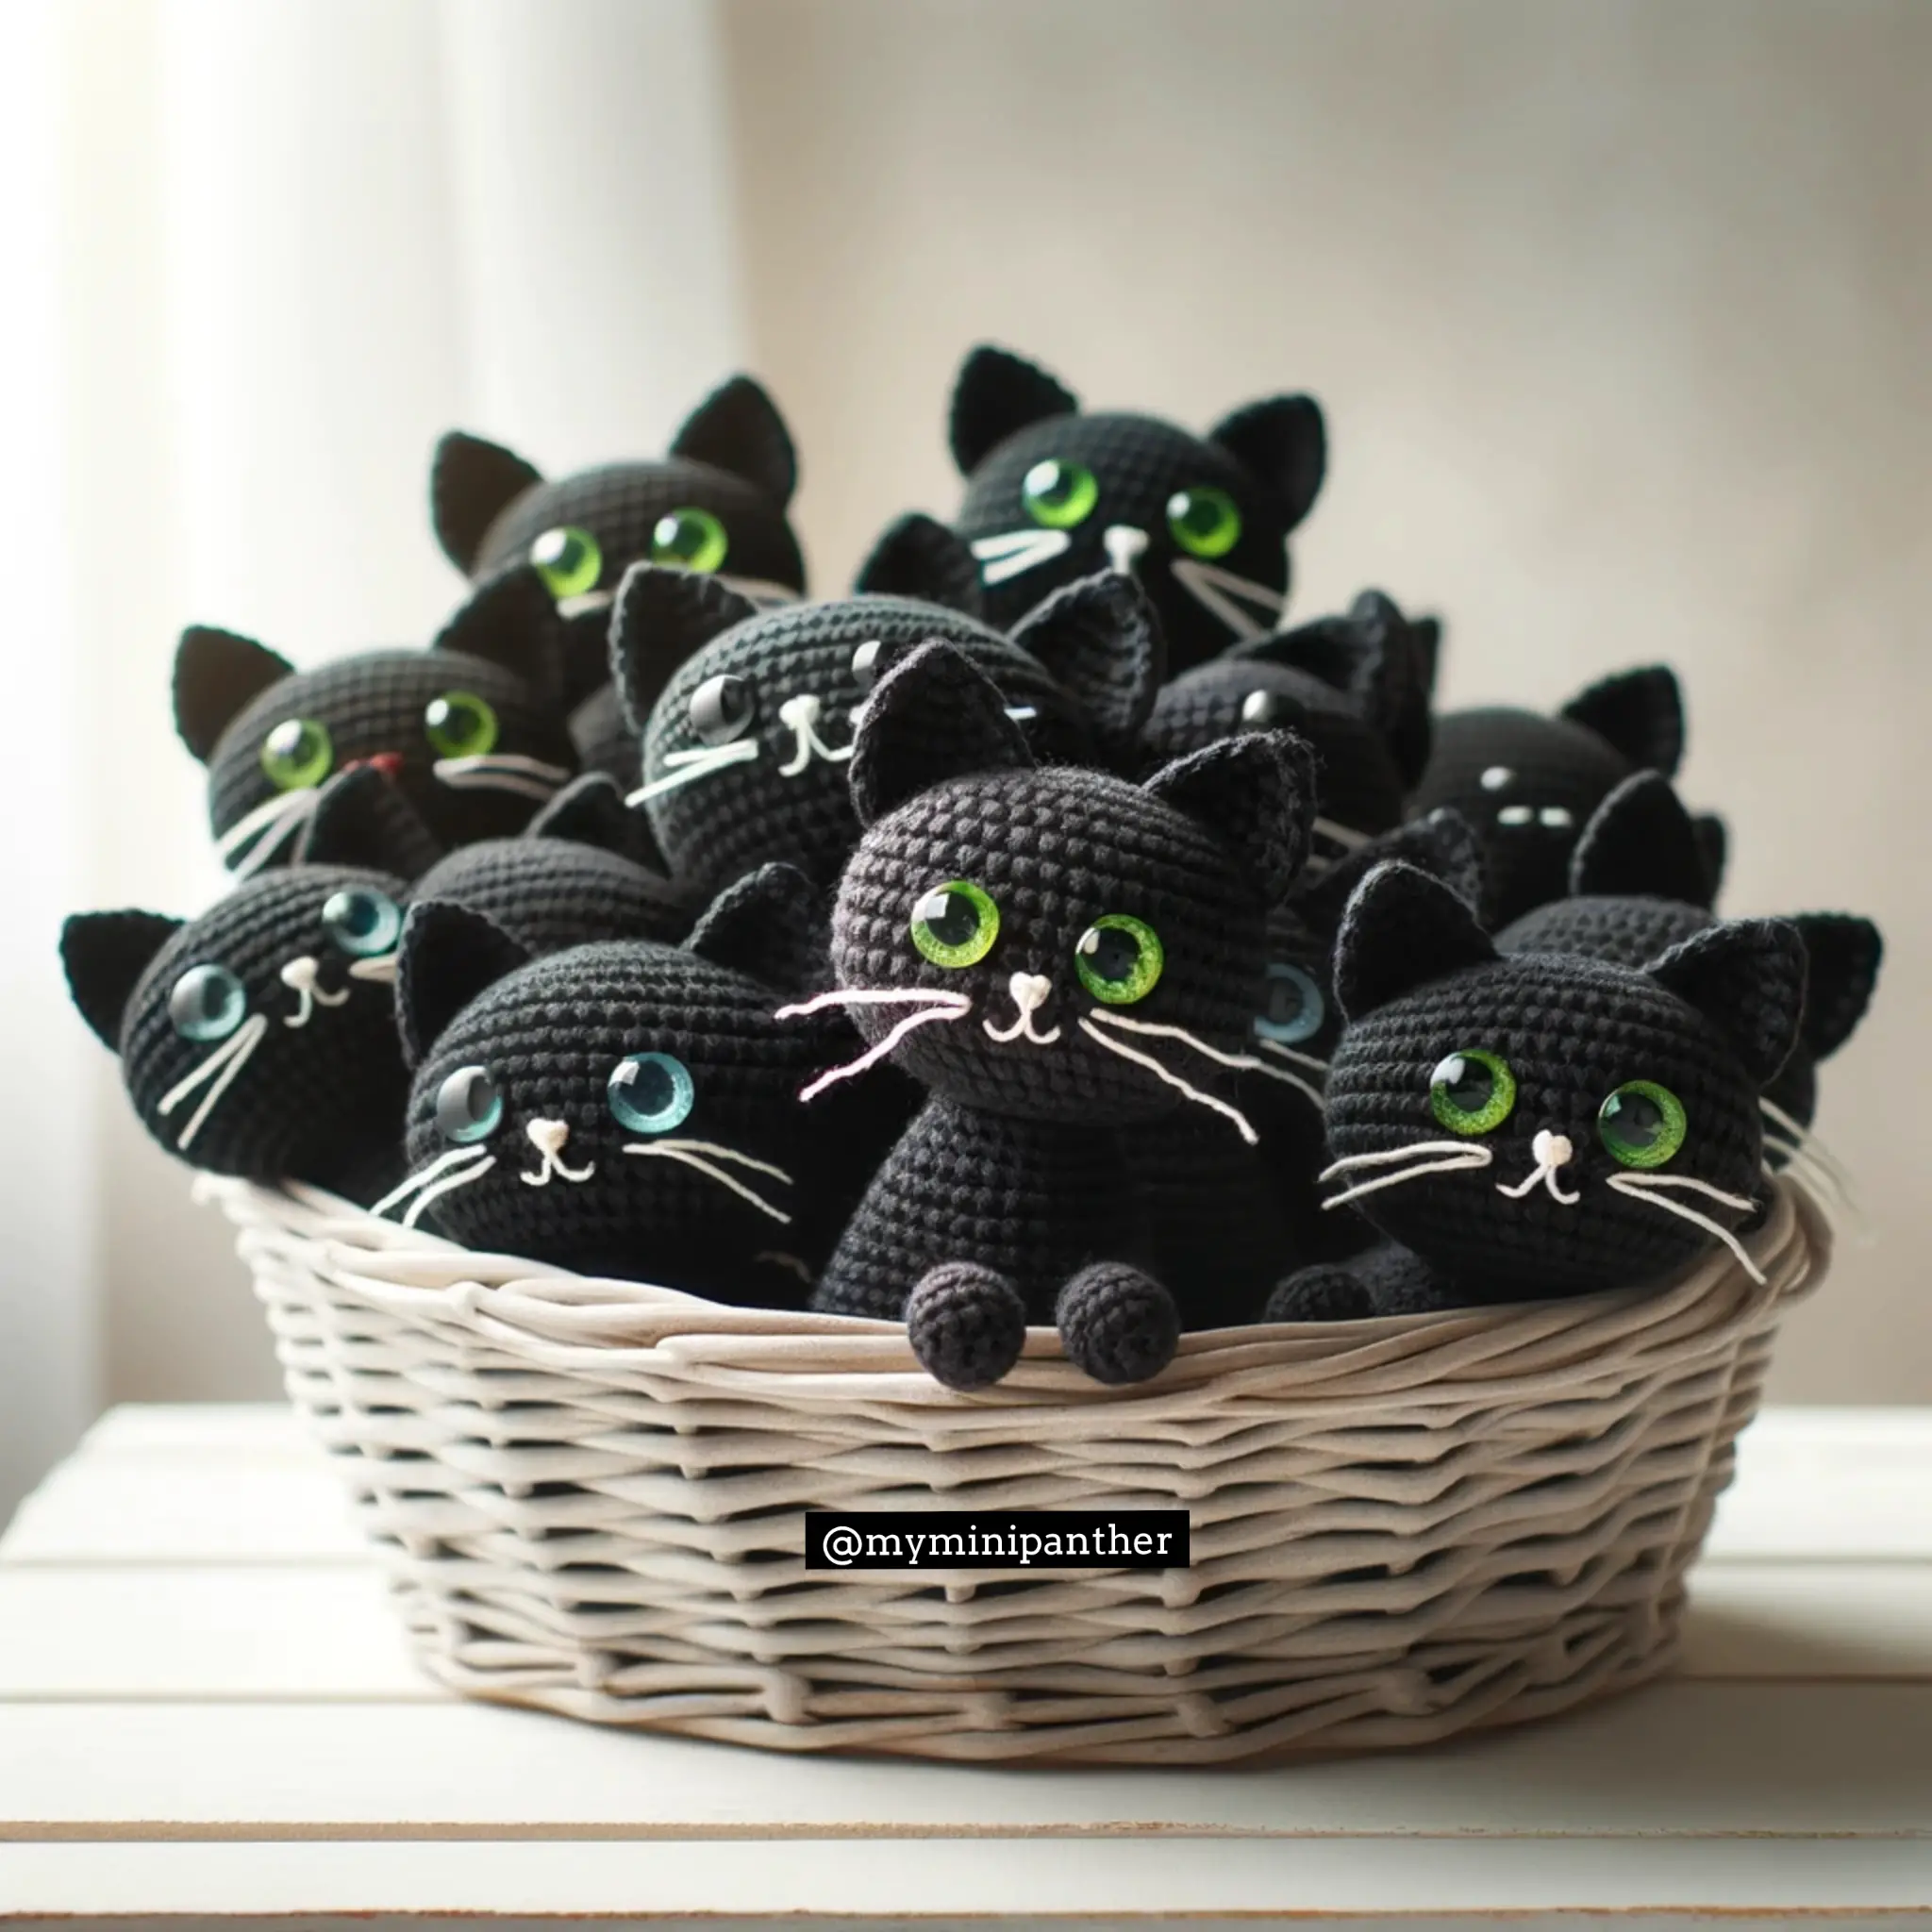
Welcome to the cozy corner of crochet where today, we’re diving into the delightful world of amigurumi—the Japanese art of knitting or crocheting small, stuffed yarn creatures. The star of our show is the black cat, a symbol of mystery and charm. Whether you’re a seasoned crocheter or a curious beginner, this guide will walk you through creating your very own black cat crochet, just like the captivating cluster pictured in the image shared with us.
Gathering Your Crafting Arsenal
Before we begin, let’s pounce on the materials you’ll need:
- Yarn: Pick a medium weight black yarn for the body of your cat.
- Crochet Hook: A hook size that’s compatible with your yarn, usually between 4.5mm and 5.5mm.
- Safety Eyes: Choose green or blue to give your cat that piercing gaze.
- Embroidery Floss: White for the whiskers and pink for the dainty nose.
- Fiberfill: To give your kitty its cuddly form.
- Yarn Needle and Scissors: For stitching and snipping your creation into shape.
The Purr-fect Stitch
Crocheting amigurumi requires familiarity with a few basic stitches and techniques:
- Magic Ring: The foundational loop from which you’ll crochet your cat.
- Single Crochet (sc): The basic stitch of amigurumi.
- Increase (inc) and Decrease (dec): To shape the head and body.
- Slip Stitch (sl st): To join rounds and finish off.
Creating Your Black Cat Step-by-Step
- The Head and Body: Begin with a magic ring and crochet in the round to form a sphere. Increase and decrease in specified rounds to shape your cat’s head and body.
- Ears to Hear: Crochet two triangles by increasing at the start and decreasing to create the pointed tips. Attach these to the head once done.
- Eyes That Mesmerize: Fasten the safety eyes to the face, making sure they’re evenly placed before the head is fully stuffed and closed.
- Nose So Sweet: With pink embroidery floss, add a tiny triangular nose between those captivating eyes.
- Whiskers With Whimsy: Stitch on the whiskers using white embroidery floss to bring your cat’s expression to life.
- Tail That Tells a Tale: Crochet a slim, curved tail and attach it to your cat’s hindquarters.
Assembly and Finishing Touches
With all pieces crocheted, stuff the head and body, attach the ears, and embroider the facial features. Be meticulous with these final touches—they make all the difference.
Tips for a Paws-itively Perfect Project
- Tighten up: Use a smaller hook to ensure tight stitches, which prevents the stuffing from peeping through.
- Count on it: Keep track of your stitches to maintain the right shape.
- The final purr: Take your time with the finishing details; they’re what give your cat its personality.
As with any craft, practice makes purr-fect. Don’t be discouraged if your first try isn’t quite right; each stitch brings you closer to crafting a basketful of these black beauties.
For those who desire step-by-step instructions, scour the internet or crochet books for specific patterns. Each project is an opportunity to refine your skills and add a personal touch.
So there you have it, crafters! Unleash your creativity, and soon you’ll have a clowder of crochet black cats that’s sure to be the envy of any cat lover. Share your creations with us and spread the joy of crochet!
Lee Harris
Latest posts by Lee Harris (see all)
- Homemade Cat Cookies: A Purr-fect Treat for Any Occasion - February 7, 2024
- Chic Feline Elegance: Crafting a Multi-Tiered Black Cat Cake - February 6, 2024
- Purr-fectly Delicious: Black Cat-Themed Donut Delight - February 5, 2024
